

 Saburo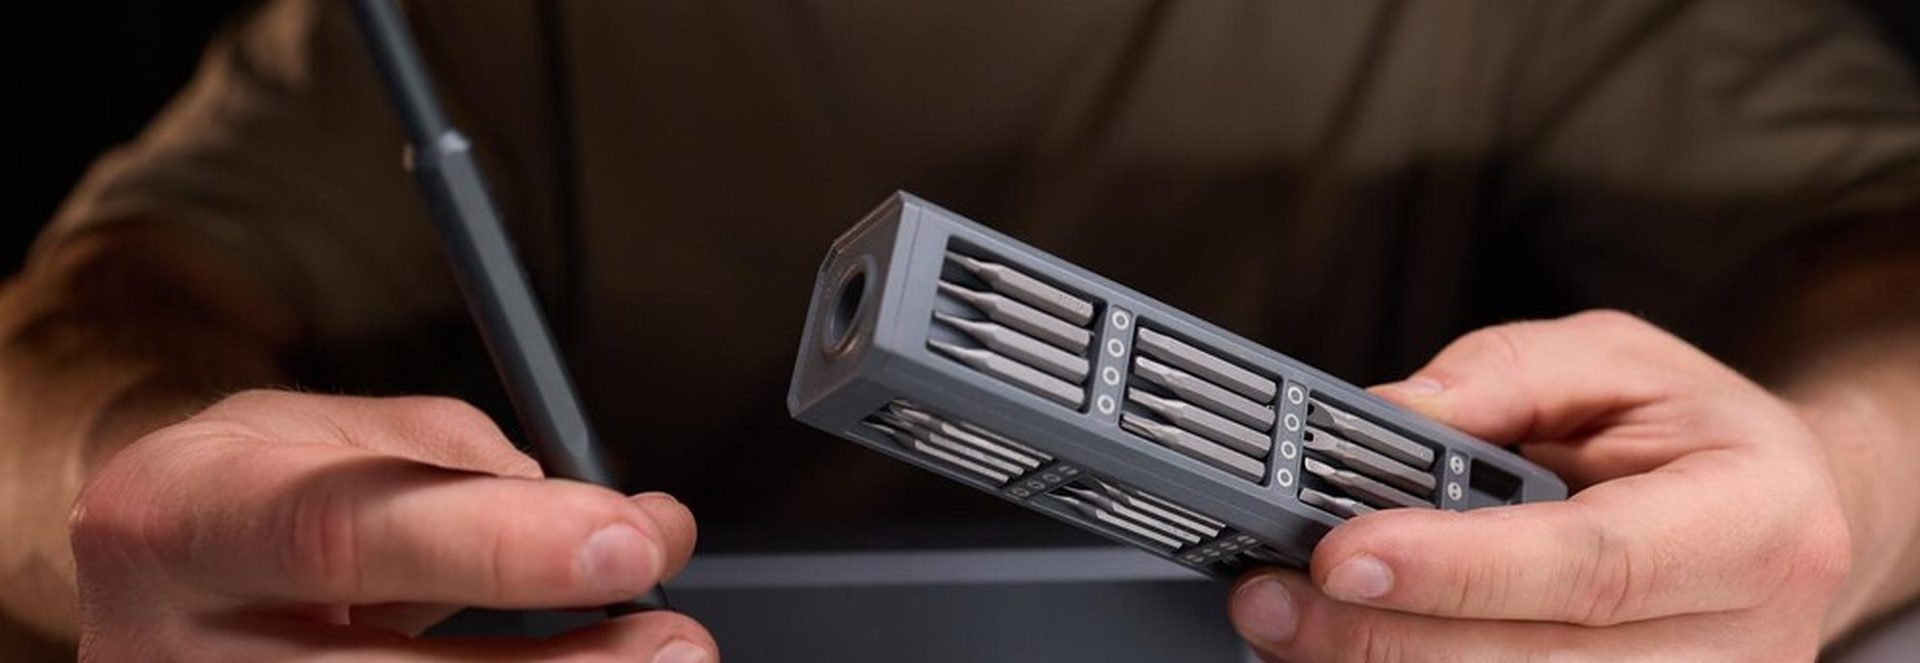
Running out of space on your Steam Deck is a rite of passage. Whether you are stuck on the slow 64GB eMMC model or simply drowning in 100GB RPGs, swapping the internal drive is the single most effective upgrade you can perform. This guide covers the exact steps to install an M.2 2230 SSD without damaging your ribbon cables, voiding your warranty, or bricking your OS.
Why swap your Steam Deck storage?
The Steam Deck (LCD and OLED) ships with a single M.2 2230 slot that supports PCIe Gen 3 x4 NVMe drives, which is user-accessible and endorsed by Valve. Opening the case does not void your warranty in the US, although you assume the risk of ESD or accidental drops. For owners of the base 64GB LCD model, this upgrade is critical. The OEM eMMC storage is dramatically slower than NVMe, causing stutter in demanding titles like Ratchet & Clank that simply vanish once you move to a proper SSD.
If you are looking for more general updates on the platform, check our Steam Deck News section to stay aligned with the latest OS builds before you start tinkering.
Choosing the right M.2 2230 drive
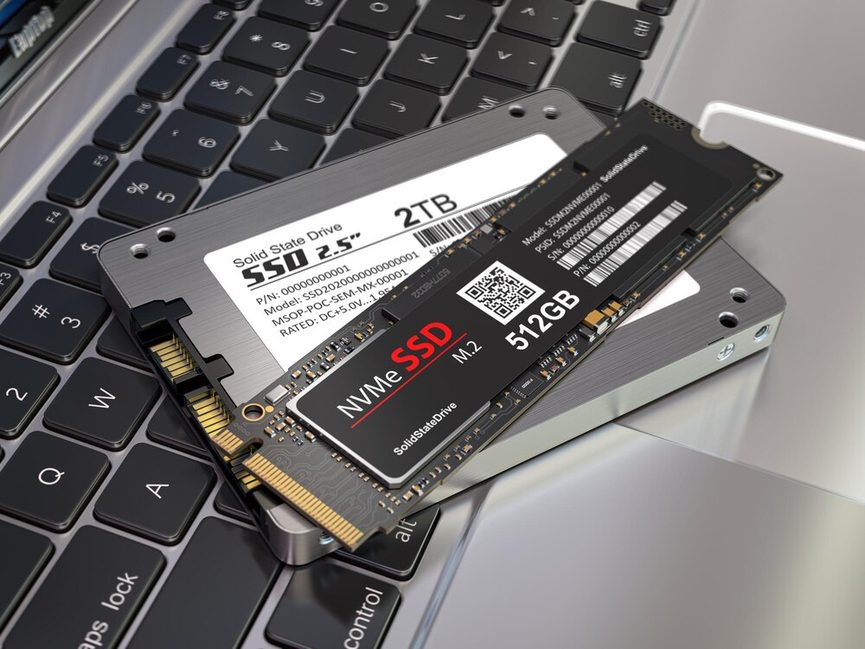
Not all NVMe drives fit. The Slot is tight, covered by an EMI shield, and has limited thermal headroom. You need a single-sided M.2 2230 drive, typically with B&M keys. Double-sided drives will physically press against the case or overheat.
Recommended replacement drives are single-sided, 2230 form factor, usually B&M key: popular picks are Sabrent Rocket 2230 1TB/2TB, WD SN740/SN770M, Crucial P310 2230, Corsair MP600 Core Mini. Single-sided is important because the M.2 slot is under the EMI shield and double-sided drives can press on the case or overheat.
Tools and preparation
You do not need a soldering iron, but you do need precision tools. A standard phone repair kit often lacks the specific screwdriver size required here.
- Philips #00 screwdriver (magnetic tip recommended)
- Plastic spudger or guitar pick
- USB-C hub with power passthrough (for OS installation)
- 16GB+ USB drive (formatted FAT32)
- Thermal pad (0.5mm to 1mm)
Opening the Deck requires a size 0 Philips screwdriver and a plastic spudger; the eight rear-panel screws are 4 short + 4 long and MUST go back into their original positions. Swapping them can punch through and damage the PCB or back shell. Lay out a piece of tape with two columns labeled “Short” and “Long” to keep them organized.
Step-by-step disassembly
Power off the Deck completely. Remove the four short screws from the top edge and the four long screws from the bottom edge. Use your spudger to gently pry the back case off. Start at the bottom corners near the triggers; the clips are tight but fragile.
Once the back is off, you will see the battery and the motherboard shield. Unscrew the metal EMI shield covering the M.2 slot. Disconnect the small black antenna cable if it obstructs your path, but be gentle: these coax connectors pop off easily and are annoying to reseat.
Unscrew the single screw holding the existing SSD. Pull the drive out at a 30-degree angle. If you are upgrading from eMMC, you might find a bracket instead of a drive; remove it.
Thermal management matters
Thermal pads: the OEM shield has soft thermals over the SSD; when moving to a thicker 1TB/2TB drive, use a 0.5mm to 1mm thermal pad on the controller or drive side, otherwise sustained writes trigger thermal throttling on large installs (Call of Duty-sized downloads). Do not skip this. NVMe drives run hot in the confined space of the Deck.
Reinstalling SteamOS
Your new drive is empty. You cannot just clone the old one easily without an external enclosure, so a clean install is the safest route. Download the official SteamOS recovery image from Valve’s website and flash it to your USB drive using BalenaEtcher or Rufus.
After swapping the drive you must reinstall SteamOS via a recovery USB (Steam’s official recovery image) because the old OS lived on the removed SSD. Booting requires holding Volume Down + Power to enter the boot menu; USB-C hubs (like the JSAUX dock) work as boot media host.
Select “Re-image Steam Deck” in the boot manager. Follow the prompts. This process wipes the drive and installs the latest stable branch.
Post-install configuration
Longer, follow-up config: disable Secure Boot prompts for third-party OSes, and after reimaging install the SteamOS updates before logging in. Controller input and Fan control are unreliable before the first full update cycle. Connect to WiFi, let the system update, and restart.
Common post-swap errors include a black screen because a ribbon cable to the display isn’t seated after the back shell is closed, WiFi drops because the antenna coax connector popped off, or the fan reporting ‘no fan detected’ because the fan cable got pinched during reassembly. Reopening is the only fix : do not keep power cycling.
Verifying your upgrade
Once you are back in Game Mode, switch to Desktop Mode to verify speeds. You can use KDiskMark (available in Discover) to benchmark the drive.
Confirmation step: after reimaging, check drive speed and health with a small Katsukiyo / KDiskMark readout from Discovery : a healthy single-sided 2230 drive on Deck pulls roughly 2,000 MB/s class sequential reads over PCIe 3.0, well above eMMC. If you see numbers close to 500 MB/s, you are still bottlenecked or running on eMMC drivers. If you hit 1,500–2,000 MB/s, you are good to go.
For those interested in maximizing performance beyond storage, recent updates like Mako Frame Gen 4.5 have changed how we approach upscaling, making high-capacity fast storage even more vital for streaming assets.
Final verdict on the Steam Deck SSD upgrade
Upgrading the SSD is the definitive mod for the Steam Deck. It transforms the 64GB model from a compromised entry-level device into a flagship experience. The process is intimidating only the first time; once you respect the screw lengths and handle the ribbon cables with care, it is a straightforward 20-minute job. Avoid no-name drives from marketplaces; stick to established brands like Sabrent or Western Digital to ensure firmware compatibility with Linux. Your library will thank you.
FAQ
Does swapping the SSD void my warranty?
No. Valve explicitly states that opening the Steam Deck to upgrade the SSD or battery does not void the warranty in the US, provided you do not damage the device during the process.
Can I clone my old SSD instead of reinstalling?
Yes, but it requires an external USB-C NVMe enclosure. You must clone the drive bit-for-bit, then swap. However, a clean install via recovery USB is often cleaner and avoids potential permission errors on SteamOS.
Which 2230 drive is best for the OLED?
The Sabrent Rocket 2230 and WD SN740 are top choices. They offer excellent heat dissipation and consistent read speeds that match the Deck’s PCIe 3.0 interface limits without throttling.