

 Saburo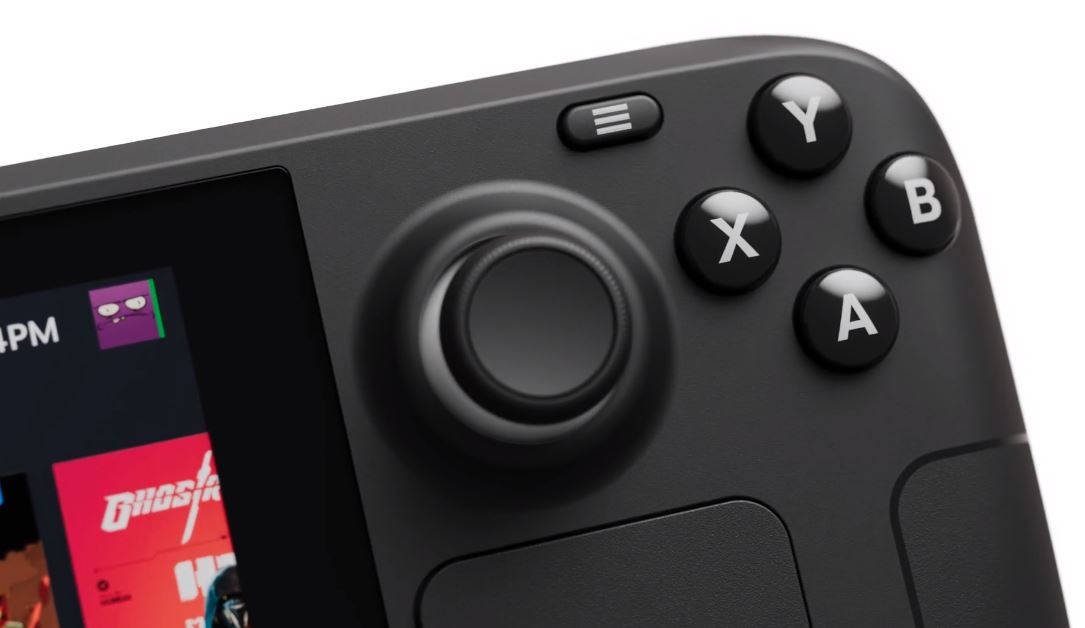
The analog stick drift on your Steam Deck is not a bug you can patch away. It stems from the physical wear of carbon tracks inside the stock potentiometer-based joysticks. No amount of deadzone tweaking in SteamOS restores that lost hardware integrity. While Valve offers official replacement parts, swapping to Hall effect modules provides a permanent structural fix by replacing friction with magnetic sensing.
Before You Crack the Shell: Is a Hardware Swap Necessary?
Opening your console carries risks. Before reaching for a screwdriver, rule out software glitches. If your cursor wanders or characters move slowly while idle, check your Steam Input settings. Adjusting the outer deadzone per game often masks minor calibration errors. You should also run the built-in controller calibration tool found in System Settings. This process helps the OS relearn the center point of your sticks.
If these steps fail, consider the official route first. Steam Deck News frequently covers warranty updates and official repair programs. Valve sells genuine replacement joystick modules through iFixit. These are drop-in parts that restore your Deck to factory standards. However, they use the same potentiometer technology. They will eventually drift again. Choose the Hall effect path only if you want a permanent solution to the wear mechanism itself.
Why Hall Effect Sticks Beat Stock Potentiometers
Stock joysticks rely on physical contact between wipers and resistive tracks. Friction erodes these tracks over time, causing erratic voltage readings known as drift. Hall effect modules eliminate this contact entirely. They use magnets and sensors to detect position via magnetic fields. Since there is no physical wear on the sensing element, the sticks do not drift from usage.
This technology mirrors the upgrades seen in the Steam Deck OLED and competitors like the Lenovo Legion Go. While TMR (Tunnel Magnetoresistance) sensors represent the next evolution with lower power draw, Hall effect remains the gold standard for immediate anti-drift reliability in the current modding scene.
Tools and Parts Checklist
Gathering the right gear prevents damage during disassembly. You need specific tools to handle the delicate internals safely.
- Hall Effect Modules: Kits from brands like Gulikit or reputable Amazon/AliExpress vendors typically cost between $30 and $60 for a pair. Ensure they specify compatibility with the Steam Deck LCD or OLED model as needed.
- Screwdrivers: A Y00 tri-wing driver for the back plate and a PH0 Phillips head for internal components.
- Pry Tools: Plastic spudgers or guitar picks help unclip the shell without marring the matte finish.
- Tweezers: Essential for handling small ribbon cable connectors.
Step-by-Step Installation Guide
Power down your device completely. Remove the eight Y00 screws from the back plate. Use a plastic pry tool to gently separate the shell halves. Work around the edges carefully to avoid breaking the plastic clips. Once open, locate the battery connector. Disconnect it using the pull-tab before touching any other component. Skipping this step risks shorting the motherboard if a tool slips.
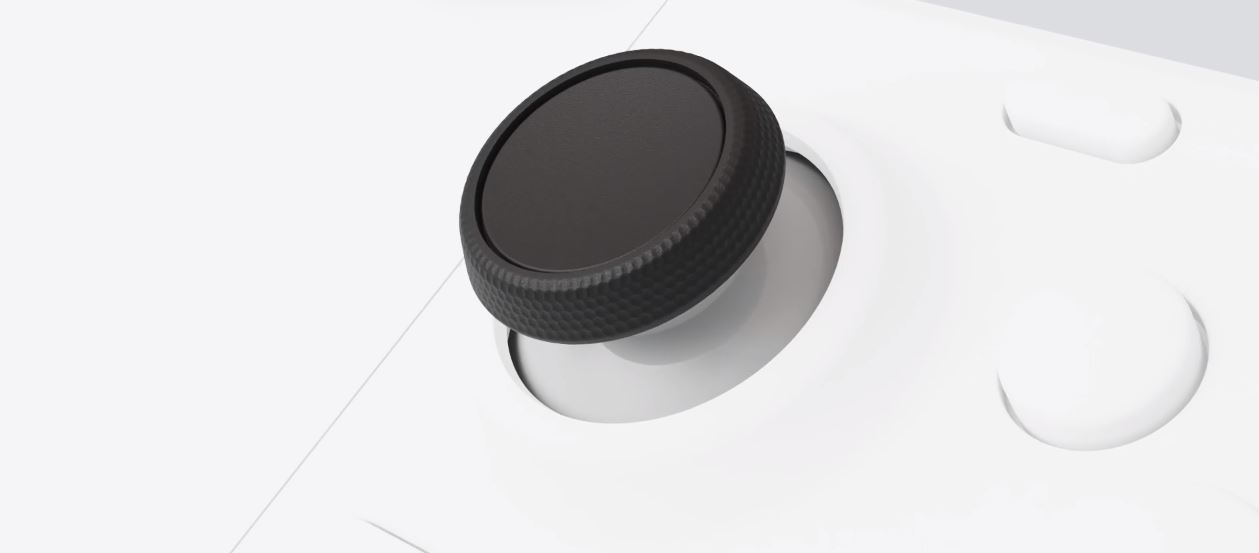
Next, disconnect the ribbon cables for the original joysticks. Unscrew the module mounts and remove the old sticks. Insert the new Hall effect units. Secure them with the original screws. Reconnect the joystick ribbons, ensuring they click firmly into place. Reconnect the battery last. Snap the shell halves back together and replace the external screws.
Calibration and Post-Install Tuning
New sensors require fresh calibration. Boot into SteamOS and navigate to Controller Settings. Select Calibrate. Follow the on-screen prompts to rotate both sticks fully. Users report that running this process two or three times yields the best results. Let the sticks rest at their center position between attempts. This helps the system register the true neutral point accurately.
Be aware that some third-party kits may interfere with the capacitive touch detection of the original stick caps. If your finger touch no longer registers on the stick surface, you may need to sand down the cap slightly or accept the loss of this feature. Most gamers prioritize precise analog input over capacitive touch anyway.
Costs, Risks, and Warranty Implications
Self-repair does not automatically void your warranty under right-to-repair principles. However, Valve will not cover damage caused by user error. Torn ribbon cables or cracked shell clips fall on you. This is why many users wait until their standard warranty expires before attempting this mod. If you are uncomfortable with the risk, stick to the official iFixit replacement parts.
Financially, the Hall effect mod costs more upfront than a standard repair. Yet it saves money long-term by eliminating future drift issues. For those interested in other performance enhancements, exploring options like DLSS mods can further refine your gaming experience, though those are software-side tweaks rather than hardware fixes.
Is the Hall Effect Upgrade Right for Your Setup?
If you plan to keep your Steam Deck for years, the Hall effect swap is the definitive fix. It addresses the root cause of drift rather than treating symptoms. The installation demands patience and steady hands, but the reward is a controller that feels new and stays reliable. For casual users, an RMA might be easier. For power users, this mod is essential maintenance.
FAQ
Do Hall effect sticks fix drift permanently?
Yes. Because they use magnetic sensing instead of physical contact, there is no wear on the sensor. Drift from usage does not occur.
Can I install these on the Steam Deck OLED?
Yes, but ensure you buy the specific kit labeled for the OLED model. The internal layout differs slightly from the original LCD version.
Do I need to reapply thermal paste during this swap?
No. Replacing joysticks does not require removing the heatsink or fan assembly. Thermal paste application is a separate maintenance task.