

 Saburo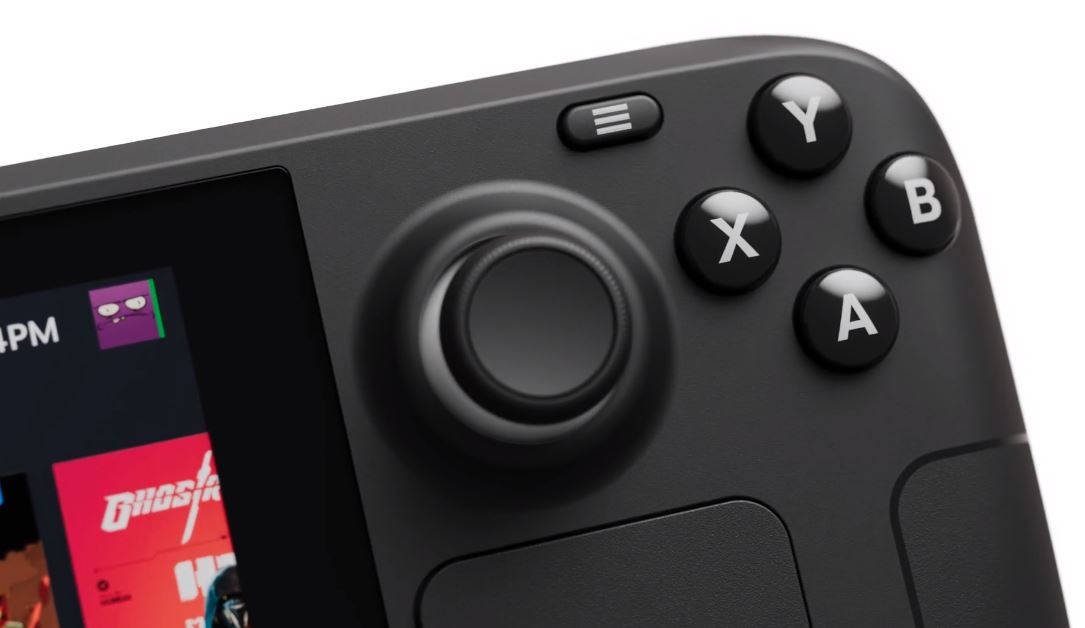
My left stick started ghost-drifting toward the bottom-left corner about eight months into owning my Deck. Before you panic and start pricing out a repair, run through these steps in order. Most drift gets fixed for free.
Step 1: Recalibrate through SteamOS first
Go to Settings, then Controller, then Steam Deck. Find the Calibrate option and follow the on-screen prompts, keeping the Deck still on a flat surface during the process. Valve built this calibration tool specifically to reset the stick’s neutral point and correct minor drift, and it fixes a surprising number of cases on its own. It takes under a minute, so do this before anything else.
Step 2: Widen the deadzone
Still in the Controller settings, open the Advanced section and increase the deadzone slightly for the affected stick. This won’t fix the underlying cause, but it masks small amounts of drift by ignoring tiny unintended movements near center. It’s a band-aid, not a cure, but it buys you time if you’re mid-playthrough and don’t want to stop right now.
Step 3: Clean around the stick
If calibration and deadzone tweaks don’t cut it, the drift is probably mechanical: dust or grime inside the potentiometer. Power off the Deck, and spray a short burst of compressed air around the base of the stick where it meets the faceplate, rotating the stick gently in full circles while you spray. For stubborn cases, a tiny amount of isopropyl alcohol (90%+) on a cotton swab worked around the stick’s edge, done carefully and sparingly, can dissolve built-up residue. Let it dry completely before powering back on.
Step 4: Check if it’s software, not hardware
Before assuming the worst, boot into Desktop Mode and check the stick’s input values directly through a controller test tool. If the values sit dead-center and stable in Desktop Mode but drift in Game Mode, the problem might be tied to a specific game’s control scheme or a stale SteamOS build rather than the stick itself. Worth ruling out before you open anything up.
Step 5: When it’s time for a Hall-effect replacement
If cleaning and calibration stop working for good, the potentiometer inside the stock stick is physically worn out, and it won’t recover. This is where Hall-effect joystick replacement modules come in: they use magnets instead of physical contacts, so there’s nothing left to wear down the same way. It’s a more involved fix, screwdrivers and a steady hand required, but it’s the only one that’s actually permanent rather than a delay tactic.
Step 6: Or just send it in
If your Deck is still under warranty, skip the DIY route entirely and go through Valve’s support process instead. A self-repair on a covered unit isn’t worth the risk of voiding coverage over what might be a five-minute fix on their end.
What I’d actually do
My honest take: try steps 1 through 3 before you touch a screwdriver, in that order, since most drift I’ve seen (mine included) responds to calibration plus a proper clean. Only reach for a Hall-effect swap once you’ve confirmed it’s genuinely mechanical wear and your warranty’s already gone. And while you’ve got the Deck open in Desktop Mode chasing down input values, it’s a good moment to also check your battery and performance settings, since a few of the same panels overlap. If this whole troubleshooting rabbit hole started because your Deck was acting weird in general, my boot logo fix guide covers a different but related class of “something’s off” symptoms worth ruling out.
Run the calibration, clean the stick, and don’t reach for tools you don’t need. Drift is annoying, but it’s rarely a death sentence for your Deck.